


DIY: St. Patrick's Day Flower Wall Made with Paper Fans
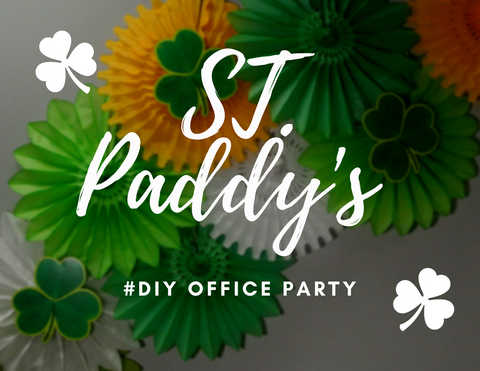
Flower walls are trending as the new sought after party must-have, however, designing or ordering custom walls can get pricey or the task becomes too overwhelming. We created a St. Patrick's Day custom wall as example of how to create an easy, customizable look using our paper fans and clover cut-outs. The entire look comes just under $15 and with about 30 minutes of prep and design time. Take this inspiration and apply it to your next office party, baby shower, birthday party etc. Create something you'll be proud of without breaking the bank or your back.
Step 1
Supplies:
Scissors
Paper Clips
Tape
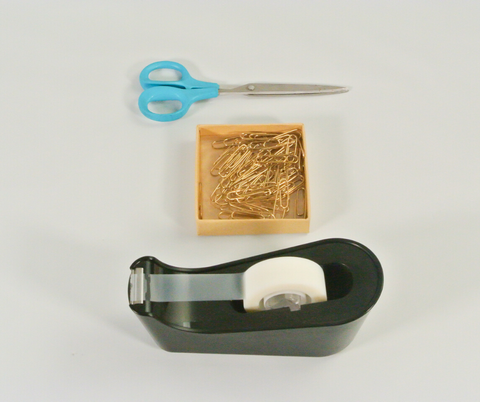
The best part about creating this Flower Wall is that most of the supplies needed can be found in any office. After locating these necessary pieces begin brainstorming what kind of look you'd like to create for you space and where you'd like to showcase it. Try finding a blank space such as a blank wall or a door. This will give you the opportunity to allow your imagination soar without dealing with obstacles like bulletin boards or light switches. Once you've found your space then it's time to get your decorations.
Step 2
Decorations

In honor of St. Patrick's Day, we selected traditional Irish colors found in the flag of Ireland and clover cut-outs found in our Party supplies department. If you are budget conscious party planner, our party supplies have excellent basics that can help build the foundation for any occasion. We chose to incorporate two different types of paper fans to add texture and versatility to our flower wall. Having too much of one color or design can make your wall look cluttered so, it's important to mix it up.

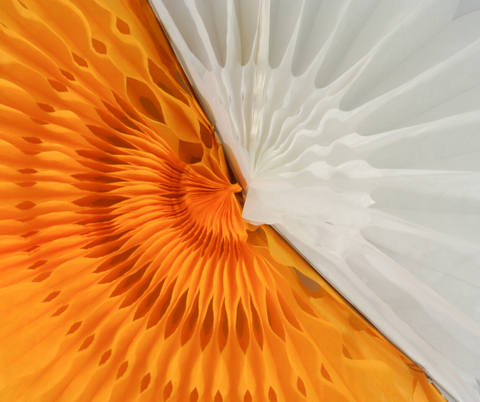
As you can see, the paper fans are constructed slightly different than each other. The fan on the left (white) has an extended string and on the right (orange) the fan has a string loop hook and tabs along the cardboard spine. We'll show you the best method on how to hang each on the wall without damaging the fans.
Step 3
Paper Clips Are Your Friends

Now, this step can be applied for both paper fans, but in this example we have used the orange fan to walk this step through. Open up your paper fan in a full sweeping motion, revealing it entirely. If your intentions are to use the paper fan once, you may open the attached taps and fold them over, keeping the fan in tact. However, if you like to save the paper fans, take two paper clips and clasp them over the cardboard spine.
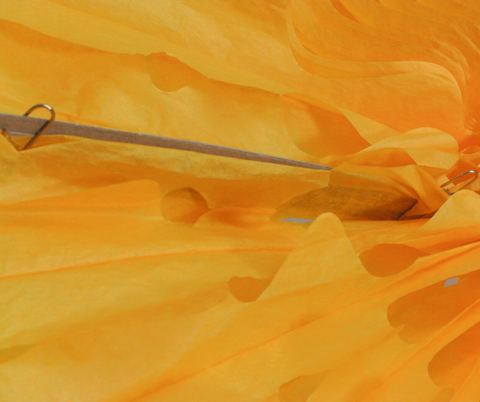
The paper clips do not damage the fans and actually holds them down to spine better. The taps attached to fans has an adhesive tape that will rip the fans upon reopening, so be mindful of the longevity of your fans.
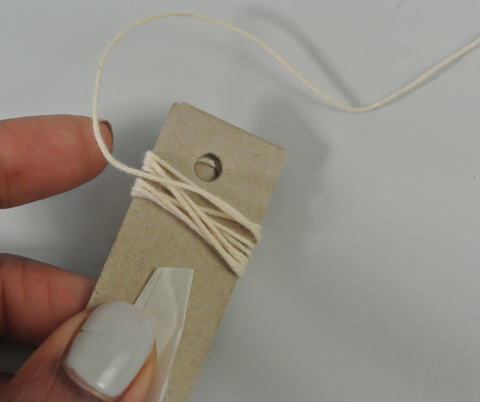
Paper fans with the extended string are just as easy to set up. You may either wrap the extended string around the spine or cut the string. Unlike the orange fan, paper fans with the extended string do not have tabs. Take two paper clips and repeat the same step applied to the orange fan.

This is the best part of the project. Begin stacking our paper fans and cut-outs on the wall. Whether you cover the entire wall or create an arch, make it fun and enjoy the process.
Step 5:
Clean Up
Another perk of this DIY project is that it is zero-waste. Paper fans are 100% recyclable and can survive an extended shelf life. If you'd like to keep your decorations for an upcoming holiday, find an empty filing box and store them into a dim lit room or cabinet. Remove the decorations from the wall one by one, inspecting for rips, tears and to take off paper-clips and tape delicately. Re-fold the fans and stack them safely into your box.

At any rate, this simple DIY project comes at little cost and no guilt of wasting extra paper.

We'd love to see what you've created. Follow @shopatdean on Instagram and tag us in your food pictures, tableware sets or DIY projects!